
All of my jewellery is entirely made by hand in my London studio and craftsmanship is at the centre of every piece and every collection I create. It is my signature piercing technique that gives my pieces their characteristic look and makes them instantly recognisable.
Today, I want to take you to the studio with me and show you how my jewellery is made from start to finish.
1//TECHNICAL DRAWINGS

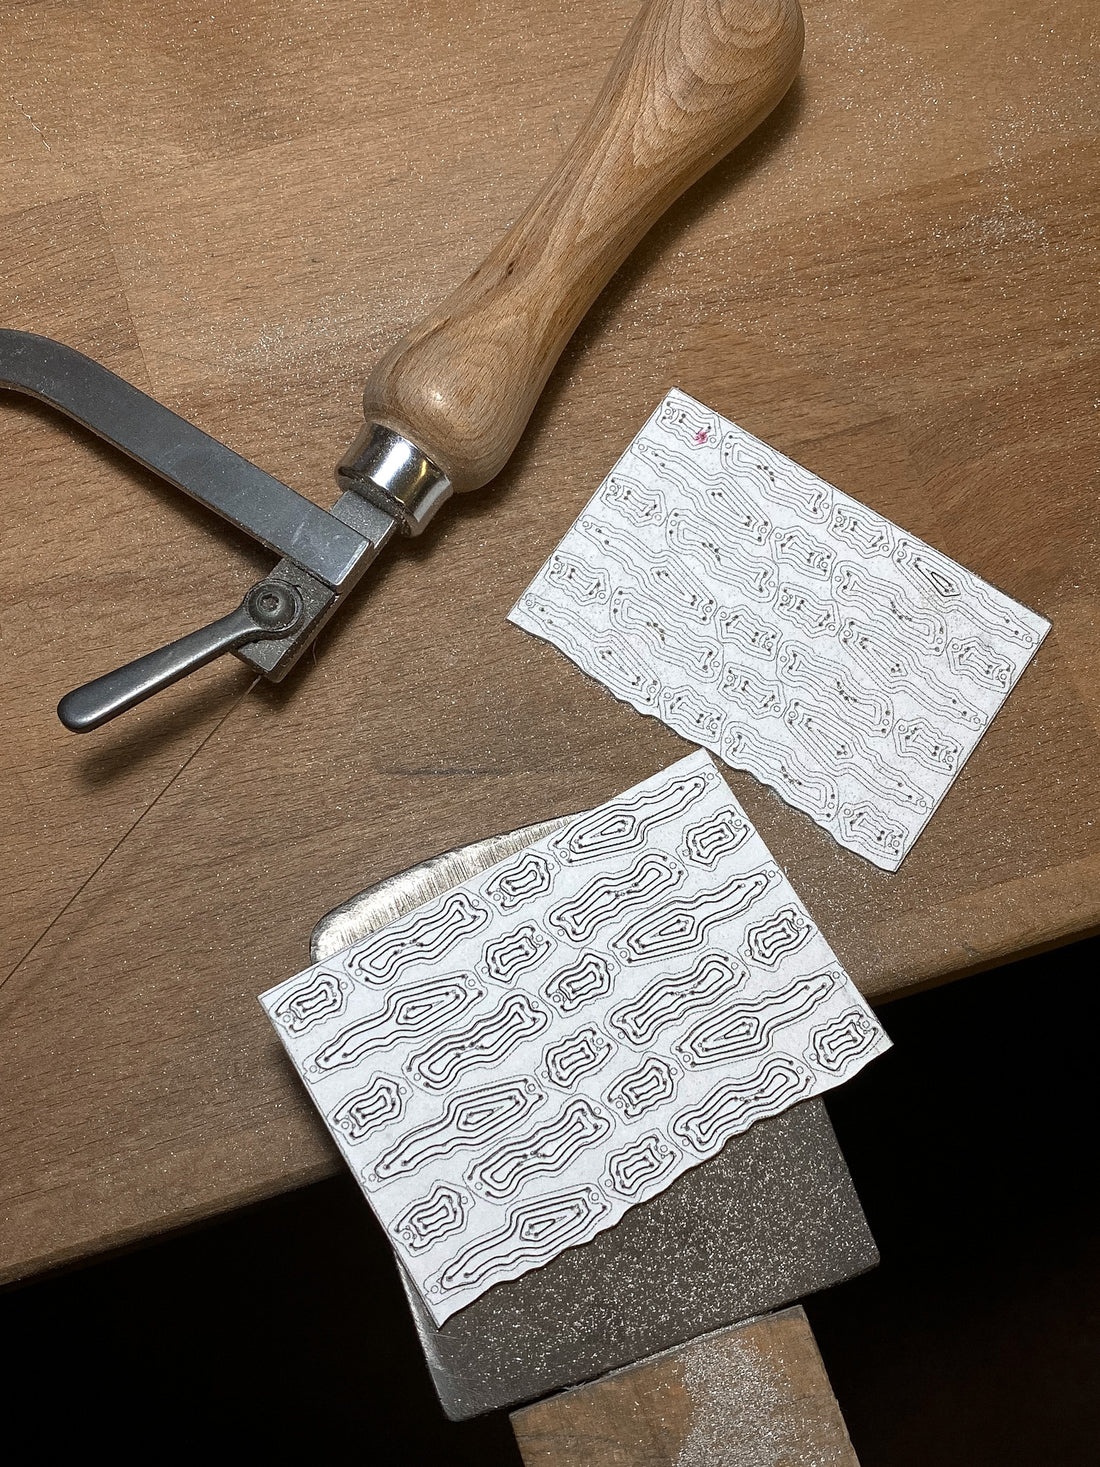
The process starts with a technical drawing that follows the design I drew by hand in my sketchbook. In Adobe Illustrator I trace the outlines and create the layers. In Illustrator I can make everything even and precise, which is very important because of the small scale of the delicate pattern. Once I have the technical drawing ready, I print it out and stick it on a sheet of metal. My collections are made in silver, but I often create pieces for clients that are made in gold.
2//MAKING - STAGE ONE

When you look at the designs, you can see that each of the layers (lines) begins and ends with a hole. I place these holes strategically because I can control the final volume with them.
I use 0.5mm drill bit to drill the holes (it is the size of a mechanical pencil lead). Then, I thread the saw blade through each of the holes and pierce the layers out following the lines on the technical drawing. This stage can take anything from 2 to 20 hours depending on the size and complexity of the pieces.
Everything must be drilled and pierced (cut with a jeweller's saw) by hand. No laser or water jet can cut such delicate pattern with lines so close to each other in the metal thickness I require.
3//MAKING - STAGE TWO

Piercing leaves marks on the edges and I use a set of files and silicon mini-wheels to smooth them out. When the edges are smooth, I use two grades of emery paper to prepare the pieces for soldering.
4//POLISHING

I used to dislike polishing and put it off until the very last moment. It took me a while to figure out how to best polish the pieces and also what mops and compounds to use.
After soldering I remove any fire stains and remaining solder using a very fine emery paper. This makes the natural silver colour even and without patches. I polish each piece twice. In the first round of polishing I focus on getting any remaining marks off the surface and I focus on the edges.
Then, it is time to 'pop' the layers out. I keep everything flat for as long as I can so the pieces are nice and polished inside out. After the layers are popped and the piece gets its volume I polish it again. This time, I use a very fine compound and a poplin mop. It not only mirror polishes the surface, but it also remove any sharp edges or corners and makes the whole piece silky smooth.
When I was wear testing the first samples I made at uni I ruined several of my jumpers because the jewellery kept getting caught on them. Learning how to polish properly and having the 4-step polishing process in place removed this issue completely and all of my knitted jumpers are free of pulled yarn.
5//CLEANING & PLATING

I use ultrasonic cleaner to remove the polishing compound and any dirt or oils that are left on the jewellery. Then, I gold plate those pieces that will be sold as gold vermeil.
Gold vermeil is a thick layer of 18k gold on sterling silver - 4 or 5 microns. Regular gold plating gives you only 0.5 microns and therefore you can see your plating gone in no time. Gold vermeil is the best alternative to solid gold. The thick layer of gold keeps your gold vermeil pieces looking gold for up to 2 years of daily wear. It then starts fading but would never rub off completely. We offer free re-plating on all our jewellery to customers who are subscribed to our newsletter.
6//PACKAGING

Each piece comes gift wrapped in a white jewellery box wrapped in two layers of branded tissue paper and a note from me. If you are buying a collectible item it also comes with a certificate of authenticity.
-
Creating jewellery entirely by hand and using the traditional goldsmithing techniques is very important to me. With more and more designers moving towards CAD design, I want to personally contribute to preserving the hand-skills and high craftsmanship that has always been associated with jewellery. All while creating jewellery for discerning, unorthodox women, looking for small series, one-of-a-kind items that help them tell the shorty of the amazing women they are.
Until next time,
Kay x